14-8-2013
Ready for flashing!!!!
29-7-2013
Went to Belgium for the final test. The customer wished some small changes that could be implemented straight away. Customer happy that he ordered another 3 sets.
15-6-2013
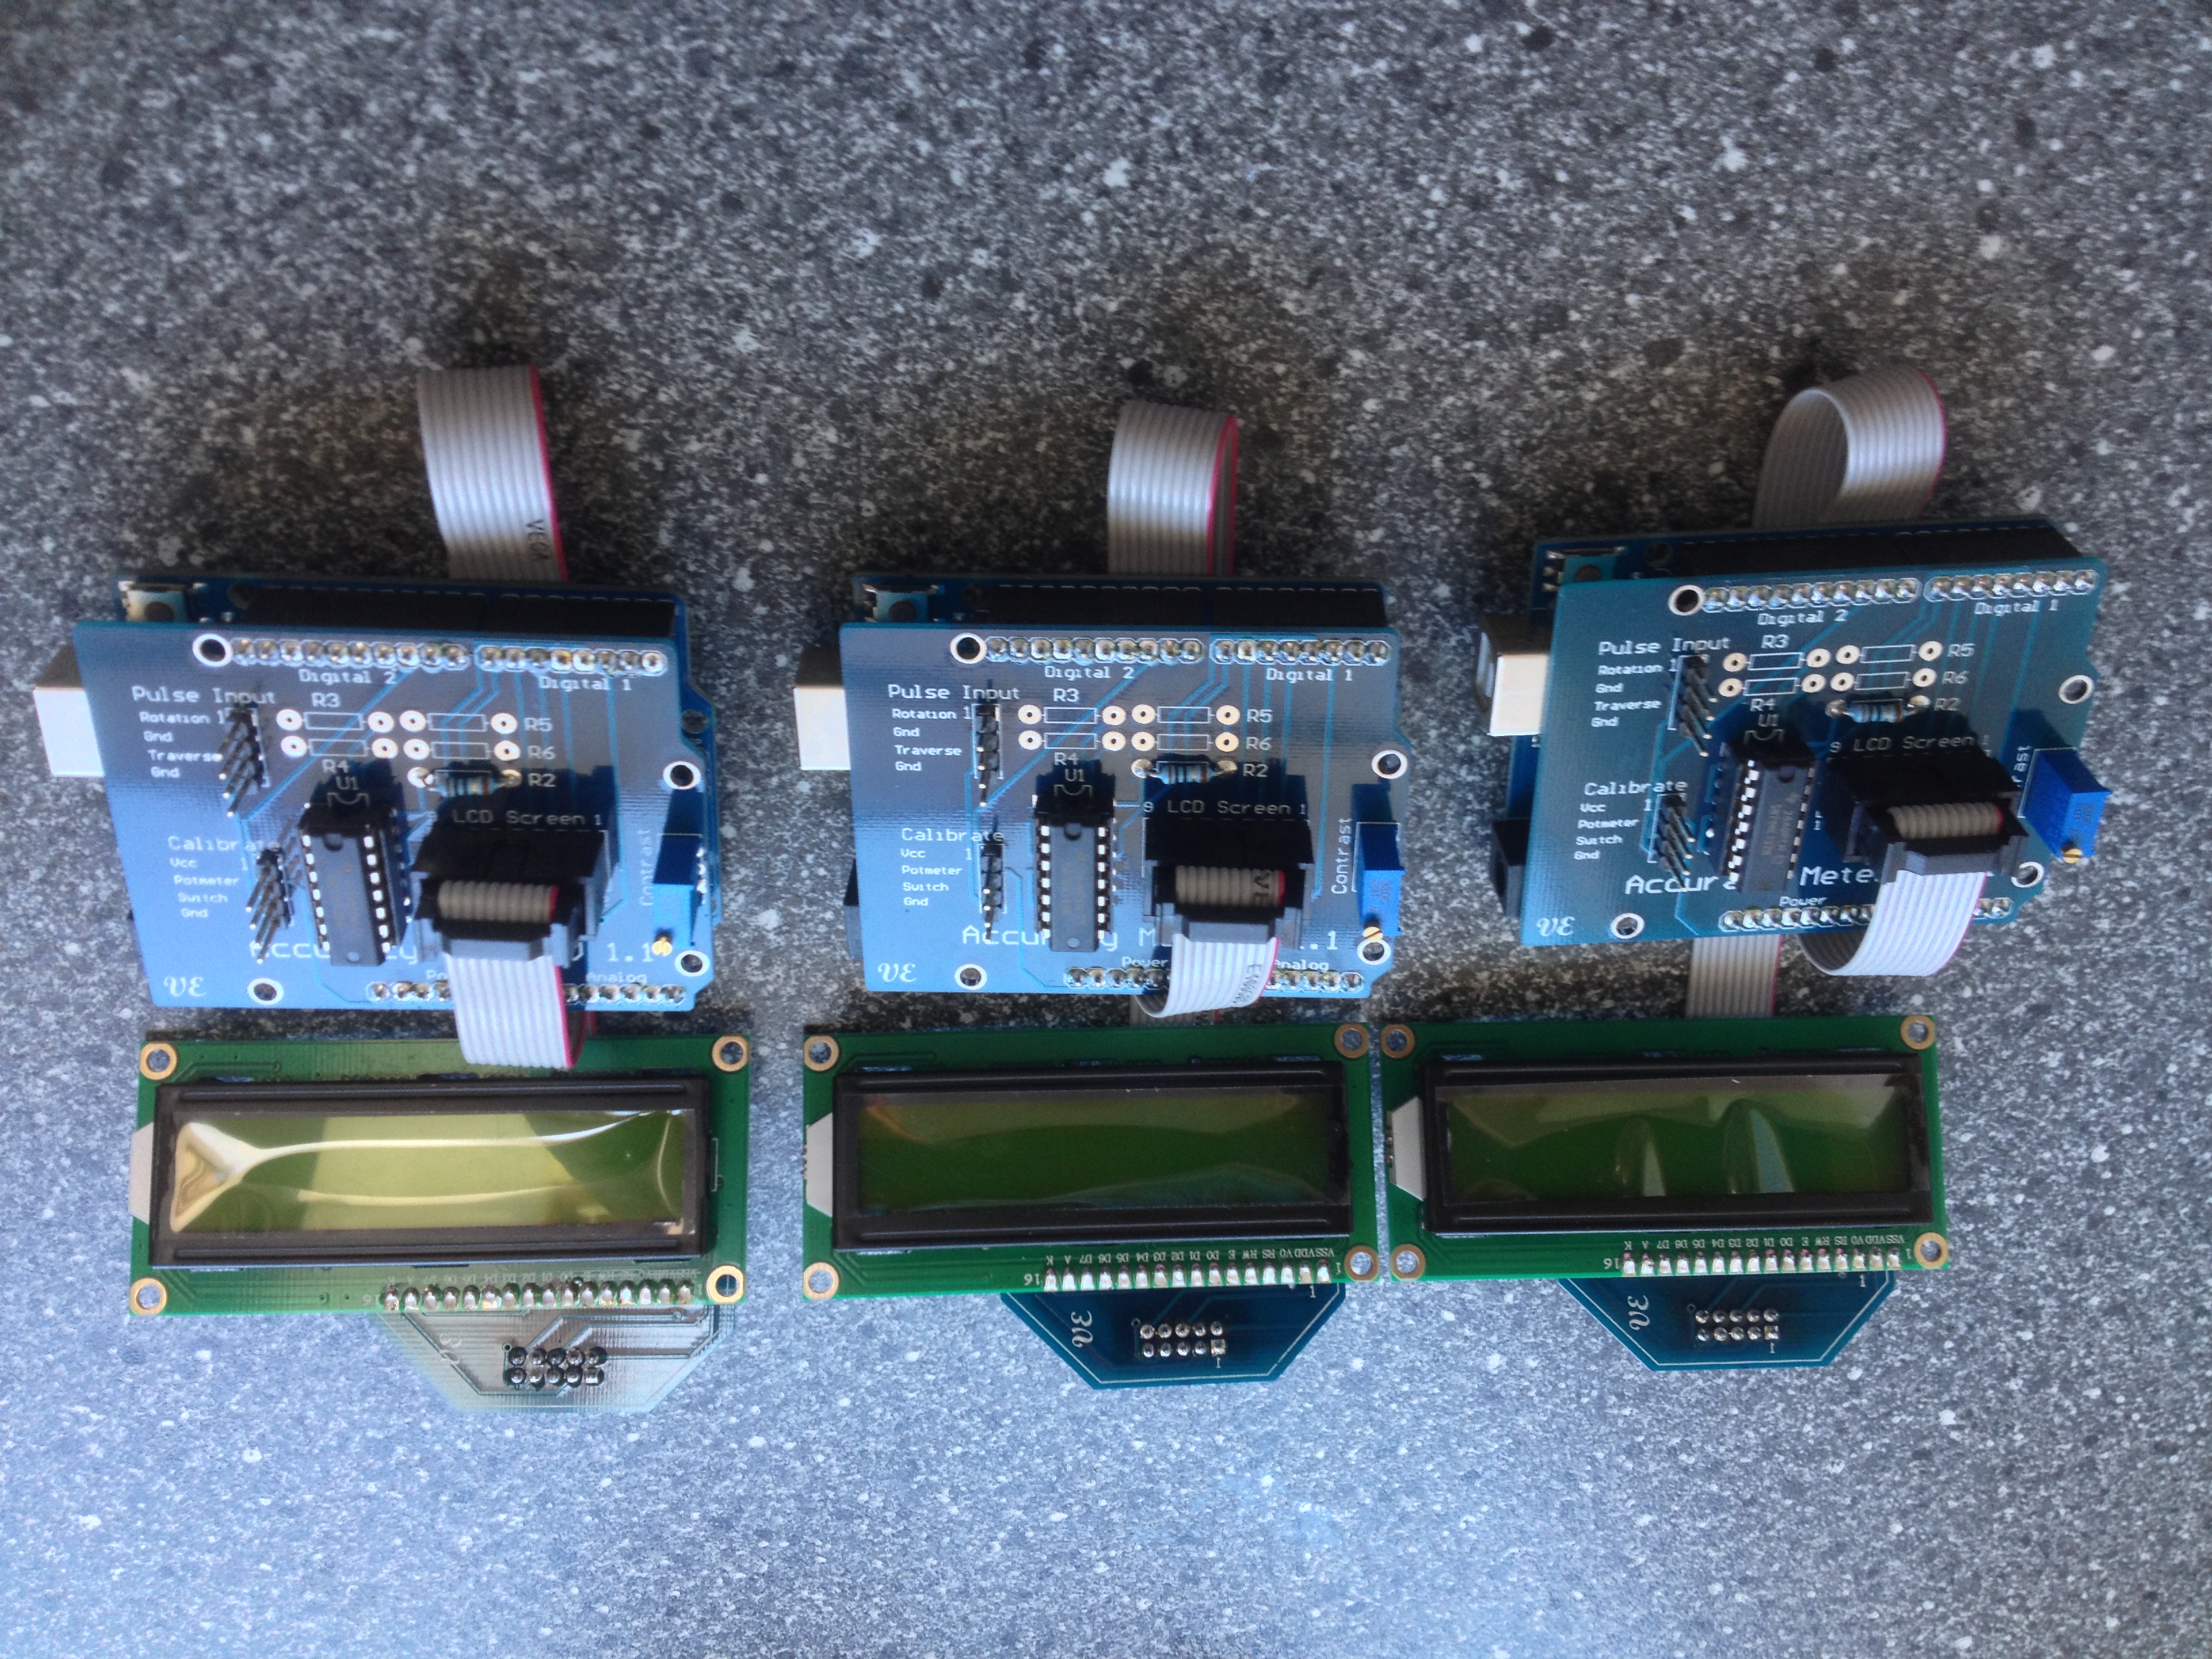
PCB’s have arrived. 11 pieces while I ordered 10. Soldered one and works as expected. Still have to develop a second PCB to be able to use a flat cable connector with a 16×2 LCD.
26-5-2013
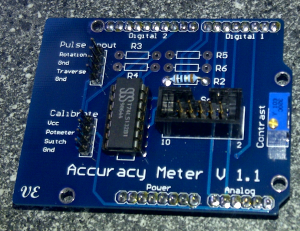
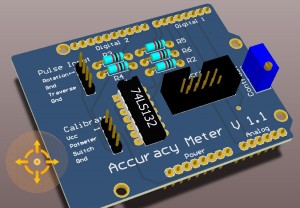
Designed the shield with Altiium DXP and modeled the components with Autocad inventor. Generated the Gerber files and sent them to ITEAD Studio (China). Expected delivery 2-3 weeks. It is a pleasant way of working with DXP and Inventor. In Inventor I can create all the components with their exact dimensions and export (STEP format) to DXP. In DXP I can generate the 3D view of the board as it will look like in realtime. Sometimes I export the whole board back to Inventor (again STEP format) to design the enclosure.
25-5-2013
Changed the software. The calculations are correct now. Time to design the final shield.
23-5-2013
Did first testing in Belgium. The pulses from the machine weren’t very nice and they weren’t of TTL levels. One pulse floated between 0V and 15V. So I created a simple voltage divider to TTL levels (0-5V) and input it through a 74LS132 (Schmitt trigger). And now we have a very nice square wave. There was als a bug in the floating point routines. fixed that as well.
13-5-2013
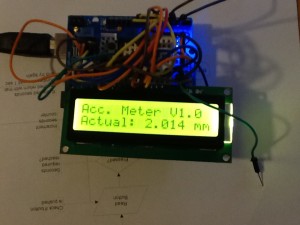
Project for a client in Belgium who works with mechanical driven professional coil winding machines. Power is driven from one axis to the other by 2 discs with a little wheel between them. On each axis there is an optic encoder generating 200 pulses per revolution. The software calculates the movement of one of the axis by dividing path pulse counts with a specific (adjustable) parameter. The results are displayed on a 16×2 LCD screen.
Requirements:
- Make a device which constantly measures the ration between the pulses of both encoders.
- Make if possible to calibrate the software.
- Must be low cost
Solution
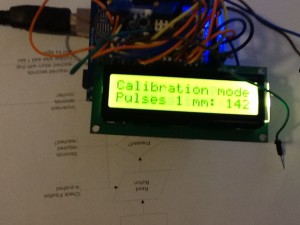
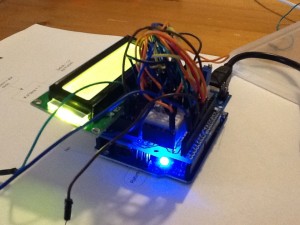
Using an Arduino Uno was sufficient for this project. Standard there are 2 external interrupts defined and will be connected to bot encoders.A push button held down for 2 seconds enables it to go into calibration mode.
Tests have shown it to still work at 36kHz which is way beyond the max speed of the winding machine.
some pictures of the prototype.

Hi Marcel
What is exactly your question?
Regards
Nico
Hi,
where can you to this Accuracy Meter for the coil winder machine?
Thanks for your answer!
Best Regards
from Germany
Marcel E.