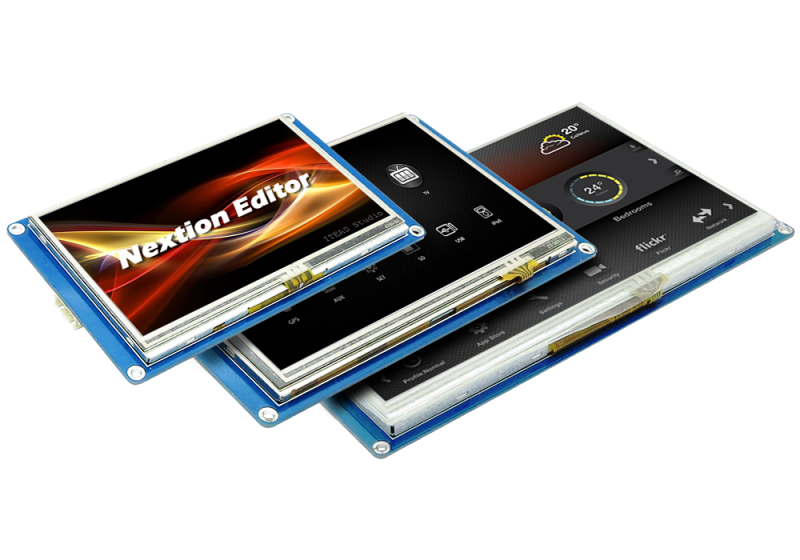
Iteadstudio.com is selling very nice low cost TFT screens which can act as a HMI interface. In practice this means that you can design TFT screens (including touch) on a special PC editor (free), download it to the screen and communicate with it through a microcontroller (i.e. Arduino) through the Serial interface.
So what is the difference with the very cheap TFT screens available on just about every Asian site. In one word Simplicity. The screens may be created on a propriety (free download) from here. The program does need some (little actually) time to get used to.
The nice thing about these screens is that they act independently. In other words no need to bother about painting buttons, text fields and images etc. Just paint the image you want, add any buttons, text fields, gauges etc. You can debug the screen an see what it will look like. It even has its own script language enabling logic on the screen itself.
The next step is to either compile it and download it to the screen through a USB-TTL-RS232 adapter or store the file on a SD card. This card fits into the SD socket of the screen. PowerOff-PowerOn and after 2 seconds the screen starts loading. Once done PowerOff-PowerOn and the new screen is on the SD card. Multiple screens can be built using the editor so a complicated HMI is doable.
The interface to the Arduino is simple. Just connect the TX to the RX and RX to the TX of the Arduino, connect the GND and Vcc and you’r done.
A simple example of a sketch where you have a button and a text filed is as follows:
[php light=”true”]
/**
* Includes
*/
#include "Arduino.h"
#include "Nextion.h"
/**
* defines & pin definitions
*/
#define LED 13
/*
* objects
* i.e. declare a button object [page id:0,component id:1, component name: "b0"].
*/
NexButton b0 = NexButton (0, 1, "b0");
NexText t0 = NexText (0, 2, "t0");
/**
* global variables
*/
uint16_t number = 0;
char buffer[100] = {0};
/*
* create an array of objects to which events are listened to
*/
NexTouch *nex_listen_list[] =
{
&b0, // i.e. Button b0
NULL // last entry
};
/**
* Callback functions. there are basically 2 types of messages
* Push (i.e. button pressed) and Pop (i.e. button released).
*/
/*
* @name void b0PushCallBack(void *ptr)
* @param ptr reference to our component that generated the event
* Button component push callback function.
*/
void b0PushCallBack(void *ptr)
{
number++; // increment our counter
itoa(number, buffer,10); // convert it to as string
t0.setText(buffer); // set our text component
digitalWrite(LED, !digitalRead(LED)); // reverse LED
}
void setup(void)
{
nexInit(); // init NExtion lib
b0.attachPush(b0PushCallBack, &b0); // register b0 as Event generator
//
// other inits
//
pinMode (LED, OUTPUT);
digitalWrite(LED, HIGH);
}
void loop(void)
{
/*
* When a pop or push event occured every time,
* the corresponding component[right page id and component id] in touch event list will be asked.
*/
nexLoop(nex_listen_list);
}
[/php]
And that is all. What happens is that once button b0 is pressed on the screen, an event is triggered and sent to the Arduino. The nextion library calls b0PushCallBack with a pointer to the b0-object added.
Updating a text field is quite simple as the program shows.
TJC and NX type screens
There are 2 types of screens available on the market. the NC types are the international ones. They are a little more expensive. The TJC types are for the Chinese market. The free editor available for download only works in China. However there are a couple of potential solutions available if you, by accident, got the wrong ones can still use them. See this thread.
Create your own style buttons
The nice thing about the Editor is that you can create your own style buttons. I use Inkscape to make my own images (here are some samples)
Or an input field
For each button you have to have one version for Not Pressed and one version for Pressed. Most (or almost) all components in the editor can have an image instead of a full color. Making your own images cna make some real fancy screens.


