And then it happened… My favorite Fishing Rods were damaged. The reelholders were broken and as I love these rods I did not want to get a couple of very cheap ones from the internet.
Time to get the parts. My favorite store “Handy Fish” in Heiloo, Netherlands gave me some advice and tips on how to replace all the separate parts. My rods consist of 2 parts and the lower part was stripped to the blank ready to be rebuilt. An old colleague and friend Rob Engelberts gave me some advice on how to glue the reelholder on the rod and how to varnish the rods. Oops…. I need to turn the rods at a speed of about 8-10 revolutions per minute to have the varnish spread nicely on the rod. And of course I did not have that. Time to become creative… I’ll design my own machine.
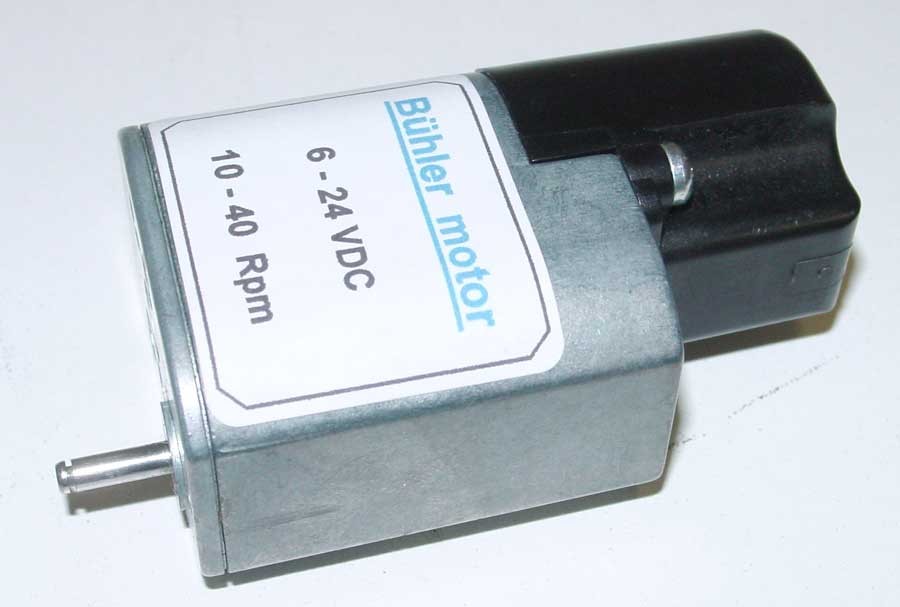
First I had to find a little motor that works on a low voltage (around 12V DC) and found one at Baco-Army-Goods.nl. It is a nice little Buhler Motor (about 10 euro) that even works at 4.5V and turns about 7-8 RPM. At 12V it turns about 20RPM.
The shaft is a 3mm “D” type. Electrical contacts a protected by the black plastic casing.
Did some measurements and designed both sides of the machine. At one end there is the motor support. At the other is where the end of the rod is put in.
Motor Holder
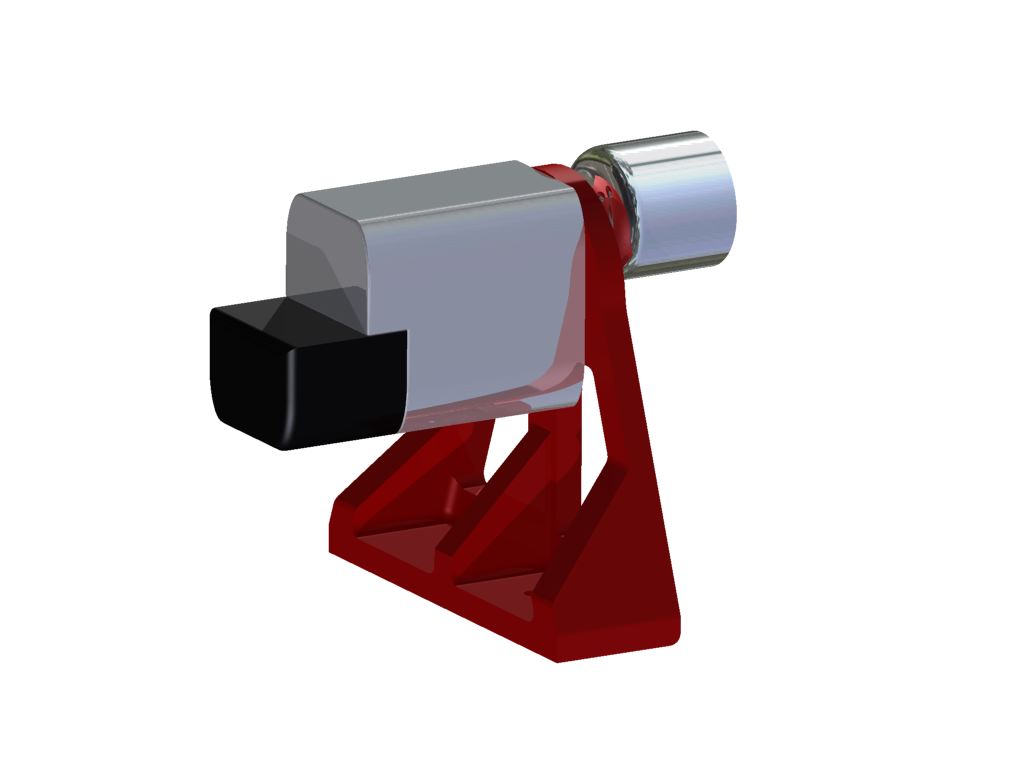
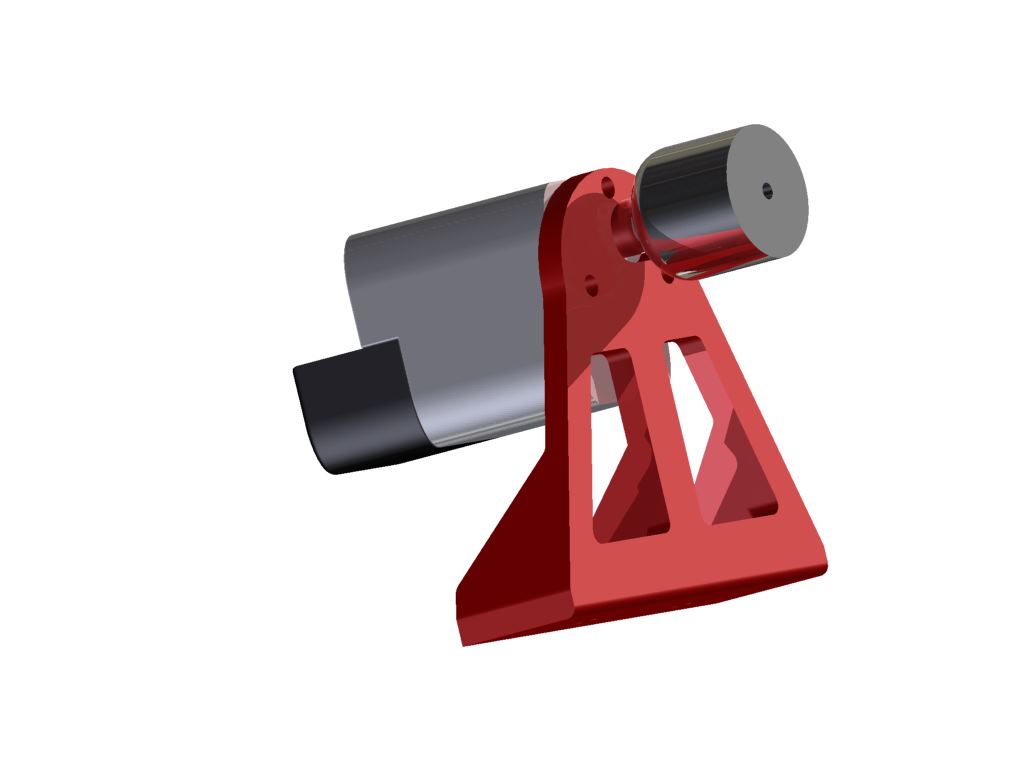
This is what it will look like.
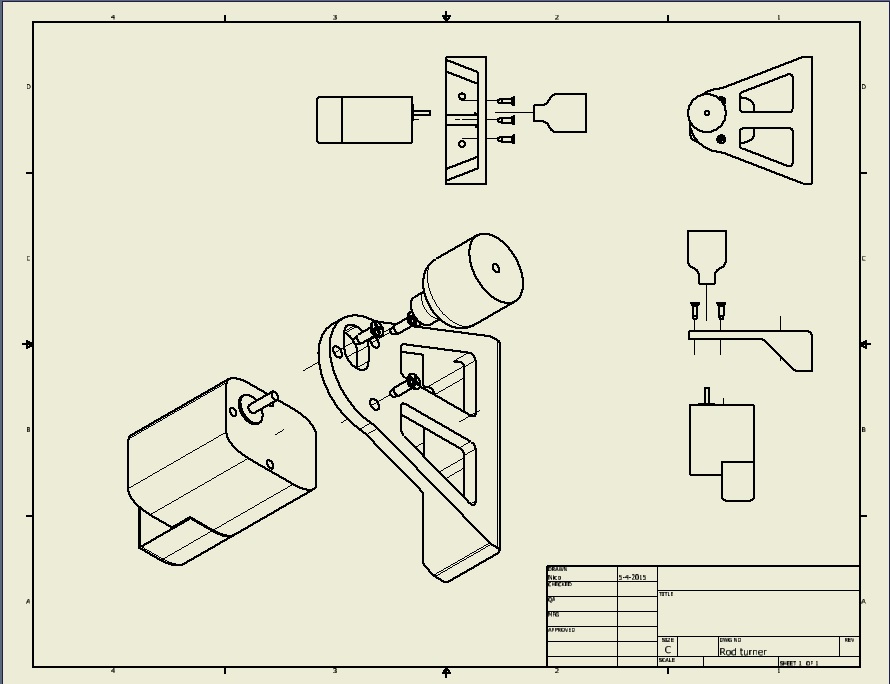
assembly
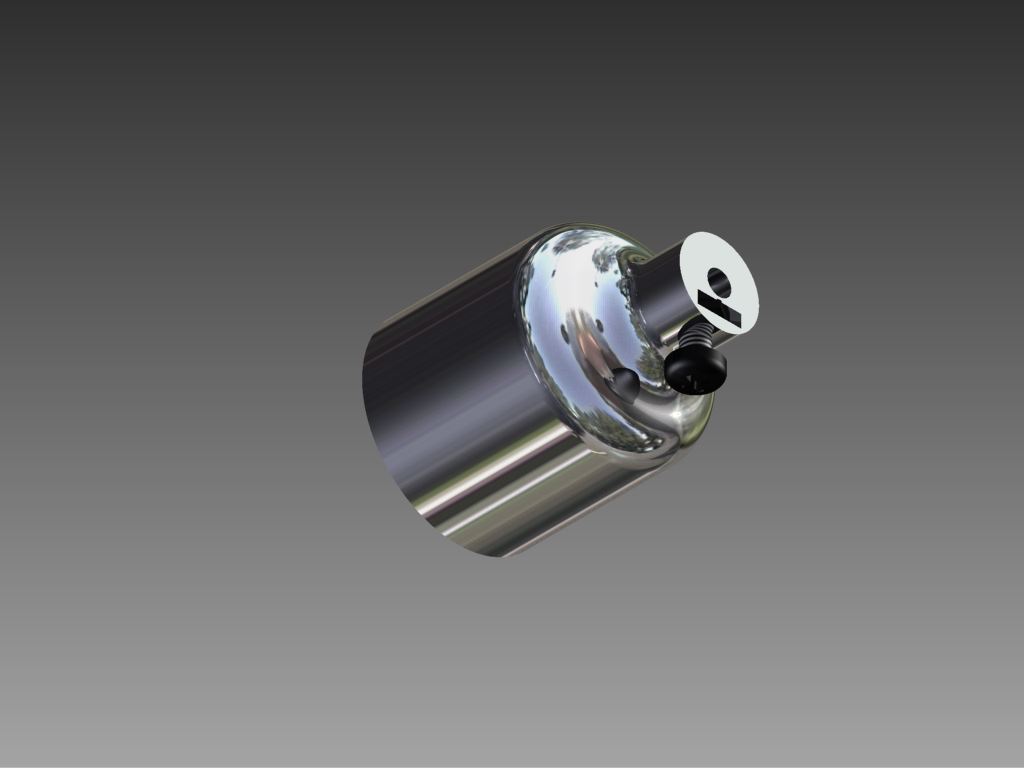
The cylinder for the rod is attached to shaft with a small screw (M3 x 6)) and nut (embedded in the part). 3 counter sunk bolts (M3 x 10) are used to attach the motor to the support. This cylinder is made to fit my rods. Different rod sizes will need different sizes for the cylinders. But hey… That is what the 3D printer is for,
Shaft Support
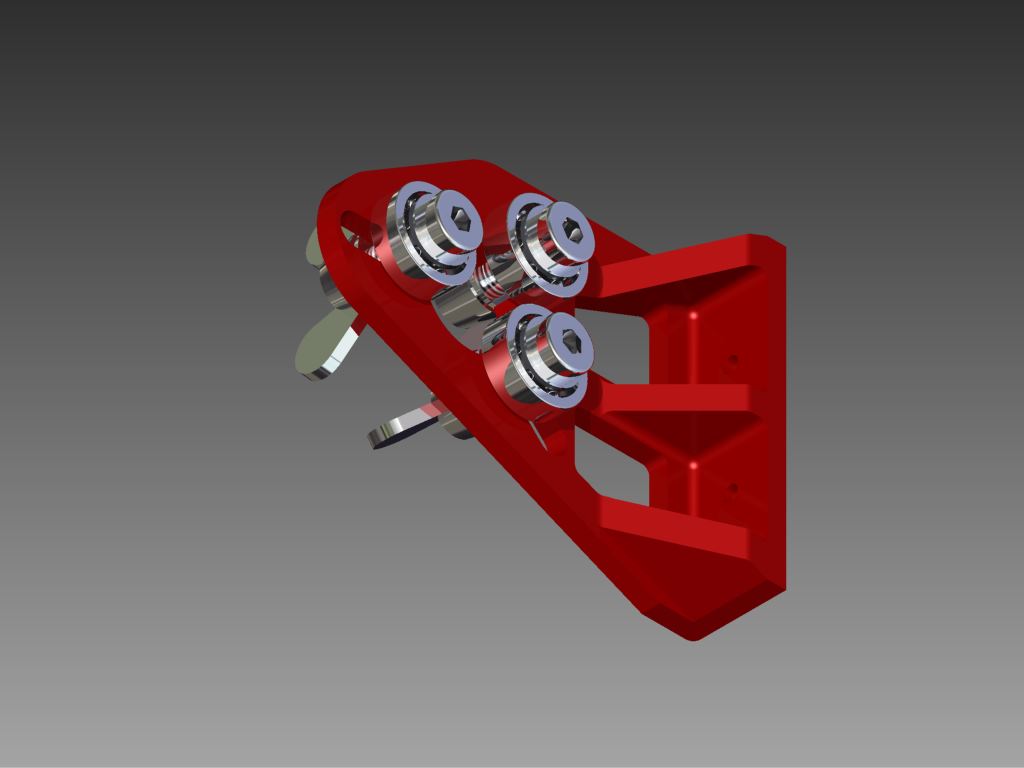
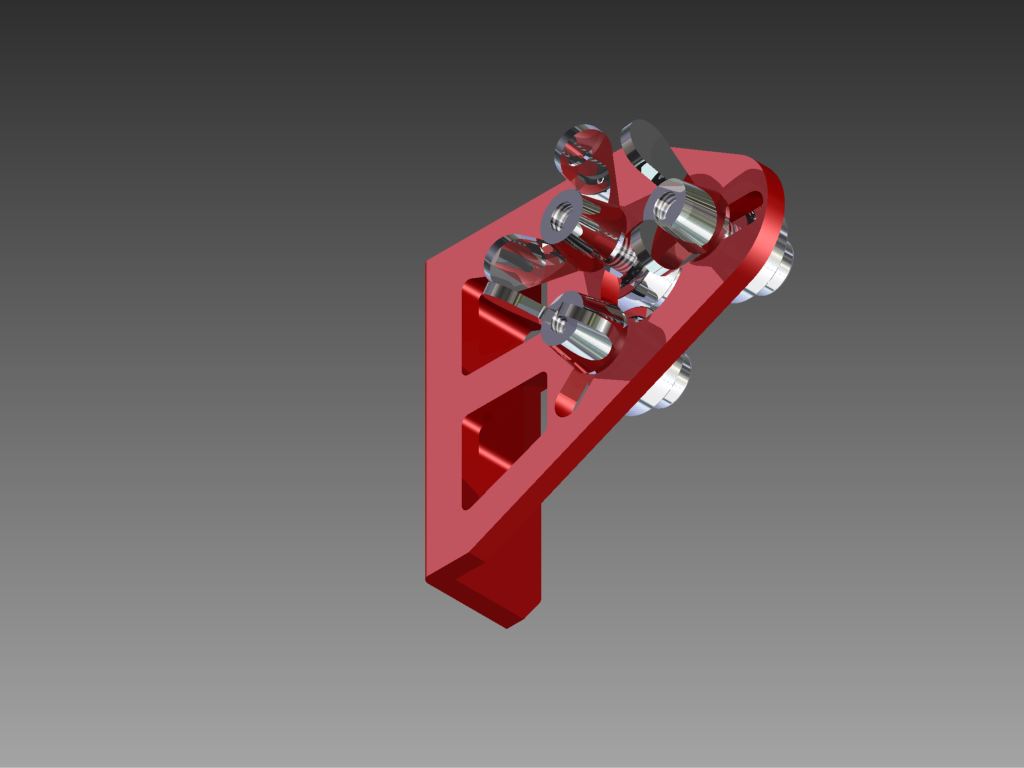
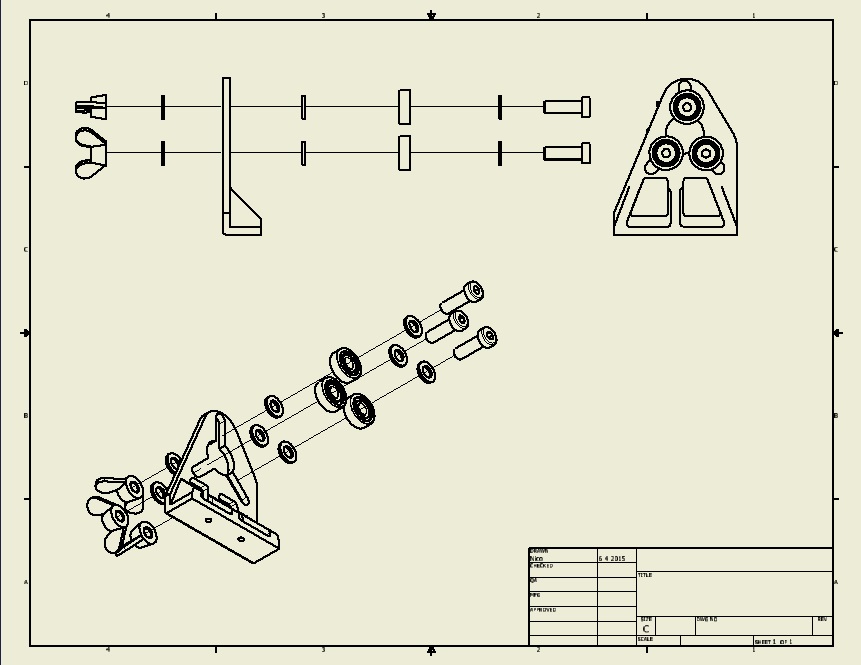
On the other side I wanted some way of supporting the rod and at the same time have it flexible enough to use with different sizes. When building my Reprap 3D printer some 3 years ago I learned a bit about getting flexibility using bearings. Thus this design is based upon it.
This is the design of the rod shaft holder.
Assembly
Shaft rod support
This is the little piece that goes into the rod’s end at the motor holder. It is a little smaller than my rods (Shakespeare Admiral Beach Caster) but with some painter’s tape you can always make it fit.
Both Motor and shaft holder and rod shaft are 3D printed.
All the files can be found at Github
Here is a little movie showing the machine in action. The lacquer was too cold (and thus to thick) to make a smooth layer. A second attempt gave a fantastic effect.
see: youtube movie
I even used the machine to make the windings for the Ceramic liners. Just turn the machine at max speed and let it do the work.
And some pictures of the printed parts:

